Leveling your yard can enhance its appearance and protect your home’s foundation and basement effectively. Learn how to do it right!
An uneven yard isn’t just an eyesore—it’s also a safety hazard, increasing the risk of trips, falls, and sprained ankles. The causes can range from poor drainage and underground pipe leaks to lawn pests like grubs or moles disturbing the root structure. But don’t worry—you can fix it!
Improper leveling can lead to serious consequences, including damage to your home’s foundation or basement. Before you start leveling your yard, identify and address the root cause to prevent future issues. Follow these step-by-step guidelines to transform your lawn into a smooth, lush, and long-lasting green space.
Benefits of Leveling Your Yard
An uneven yard is not only unattractive but also a safety hazard, especially for children. Bumps and dips can cause trips and falls, while standing water leads to mud and wasted irrigation.
Leveling the ground ensures even water distribution, promoting healthier grass and plants. It also makes mowing, raking, and overall lawn maintenance easier, keeping your yard neat and increasing property value.
Additionally, proper grading helps prevent foundation damage by directing water away from your home. Many issues can be fixed on your own, but professional help may be needed in some cases.
Key Benefits:
- Safer, reducing the risk of trips and falls
- Easier lawn maintenance and care
- Enhances curb appeal and property value
- Efficient water usage, preventing waste and flooding
The Best Time for Leveling Your Yard
You should consider leveling your yard when you notice water pooling, runoff into the street, or uneven surfaces making it difficult to walk. The ideal timing also depends on the cause of the uneven terrain. If certain areas have become compacted due to frequent foot traffic—such as a pathway leading to a treehouse—leveling the ground and adding a hardscape path before peak playtime can be a smart solution.
In most cases, spring is the best time to level your yard, as warm-season grass begins to grow again. However, if the soil is still too wet from melted snow or rain, wait until it dries out for better results. When adjusting the yard’s grade, aim for dry weather and check your work during the next rainfall to ensure proper drainage.
7 Steps to Leveling Your Yard Effectively
Step 1: Mow the Lawn
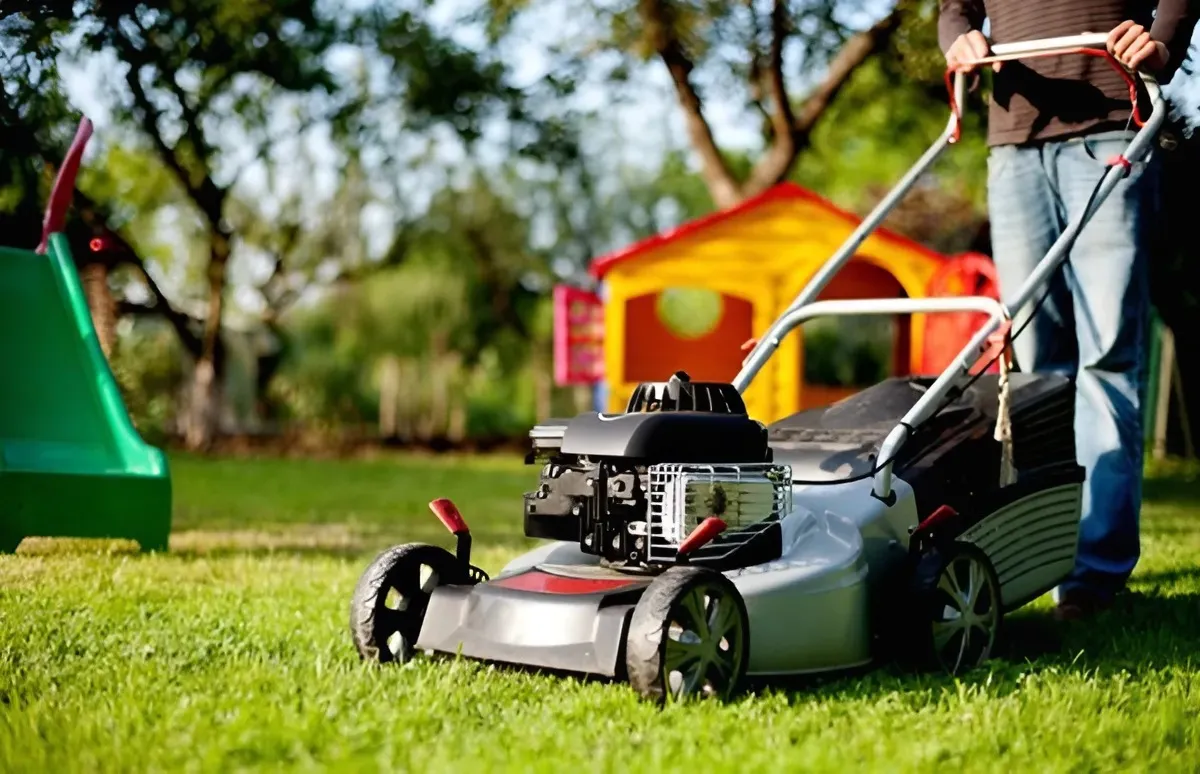
Start by mowing your lawn to a short but healthy height. Avoid cutting it too short, as this can expose the grass blades’ stems, making them more vulnerable to drying out and damage. A neatly trimmed lawn helps you better identify uneven spots that need leveling.
Step 2: Check and Remove Excess Thatch
Thatch is the layer of dead grass, roots, and organic debris that accumulates at the base of your lawn. A thin layer (about ¼ to ½ inch) is beneficial for protecting the soil and retaining moisture. However, if it gets too thick, it can block water, air, and nutrients from reaching the grass roots, leading to poor growth.
To remove excess thatch:
- Use a thatch rake for small lawns.
- For larger yards, rent a dethatching machine to make the process faster and more efficient.
Step 3: Prepare a Soil Mixture for Leveling
Create a top-dressing mixture to fill in low areas with the following components:
- 2 parts sand – Helps maintain a level yard by preventing compaction.
- 2 parts topsoil – Provides essential nutrients for healthy grass growth.
- 1 part compost – Enriches the soil and promotes strong root development.
This mix ensures both stability and nourishment for your lawn.
Step 4: Remove Sod from Deep Low Spots Before Filling
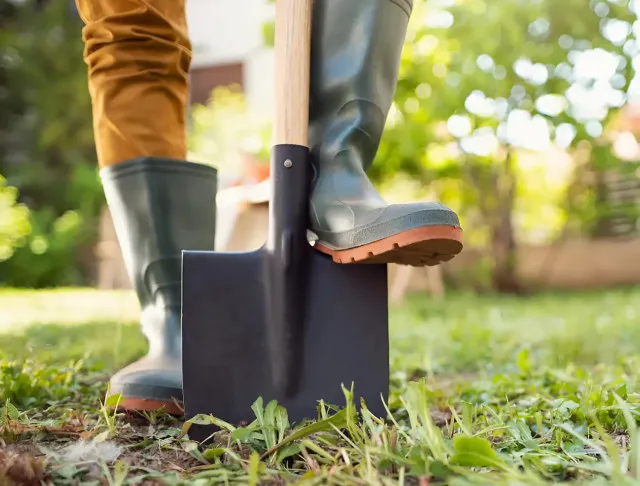
For areas that are more than 2-3 inches deep, it’s best to remove the existing grass before adding soil.
How to do it:
- Insert a shovel at the edge of the low spot and slide it under the grass roots (about 2-3 inches deep).
- Lift the sod carefully, keeping it intact.
- Fill the hole with the prepared soil mixture and gently place the grass back on top.
For areas near your house: Create a proper slope to direct water away from the foundation—about 1 inch per foot (30 cm)—to prevent water damage. If your entire yard slopes toward the house, professional grading may be necessary.
Step 5: Spread a Thin Layer of Soil Mix Across the Lawn
Once you’ve filled the deepest spots, spread the remaining soil mixture across the entire yard.
- Use a shovel to distribute a thin layer (¼ – ½ inch deep).
- Rake the mixture evenly to smooth out minor dips and bumps.
- If the grass blades are completely covered, use a push broom to work the mix into the base of the turf and expose the grass tips.
Avoid applying too much soil at once, as it can suffocate the grass. If needed, repeat this step gradually over time.
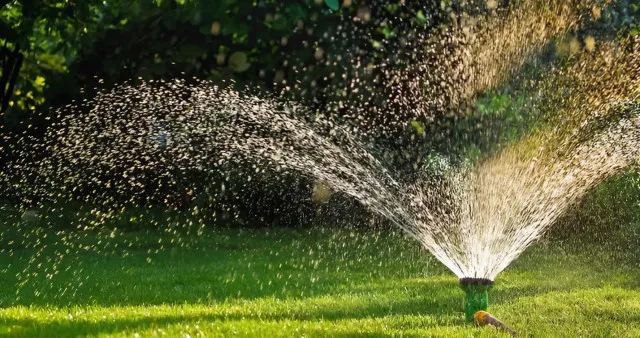
Step 6: Water the Lawn to Help the Soil Settle
Lightly water the lawn after spreading the soil mixture. This helps it settle into the grass, filling air pockets and allowing the roots to absorb nutrients.
Use a sprinkler or hose with a gentle spray to avoid washing away the newly spread soil.
The moisture will activate the compost and encourage healthy grass growth.
Step 7: Check and Repeat If Necessary
After a few waterings, observe the lawn for any remaining uneven areas, water pooling, or runoff. If needed, apply another thin layer of soil following Steps 5 and 6.
Pro Tip: Only add another layer once the grass starts growing again or when the previous layer is no longer visible.
Summary
Leveling your yard is a simple yet valuable task that enhances aesthetics, prevents water waste, and protects your home’s foundation.
Identify the cause of uneven areas before starting. If water flows toward the foundation, adjust the slope. Once completed, lawn maintenance will be much easier!